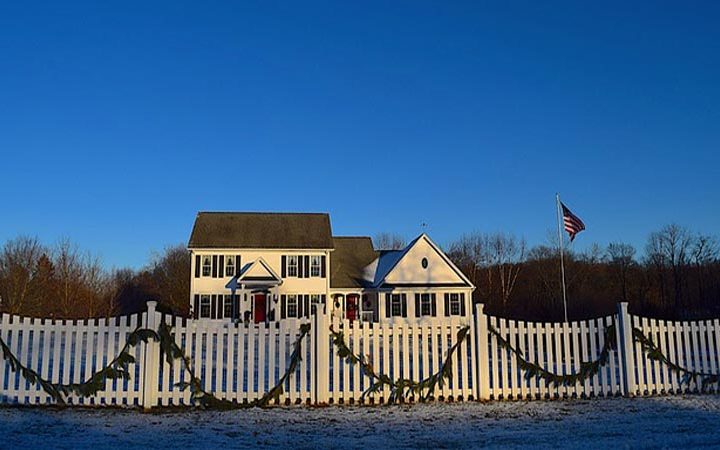
For years now, generations in fact, people have imagined living in a beautiful home that has a garden surrounded by a white picket fencing. To some it’s the epitome of the trappings of success. If you already have your home, and the white picket fence is still in your mind’s eye, then you may want to work out how you will go about getting one done.
Proper Planning
Like anything that will cost you money, planning is the key. It prevents stress and usually prevents loss of money.
Your Boundaries
Survey of your boundary, that is exactly where it is, not going by existing fence and property lines, is important. Check your title and if necessary, if there is a slight doubt, then have the property surveyed. Another item on the ‘to do’ list is to chat with your neighbour about your plans for a fence. When it’s fence erection time, access will be needed to their property. Don’t assume that just because they are good neighbours that it will be okay.
Digging Holes and Permits
Digging holes? Check where the utility lines are – water, gas, power and communications. There is usually a sign, but if you are unsure, don’t risk it. The relevant companies are able to come out and mark exact locations for you. What are the local council rules about building a fence? Do you need a permit? Better to check and make sure that you have the right to go ahead. If you live on an estate, there might be some fencing rules regarding style and type. Check. Assumptions can cost money, so in all these aspects, do your planning and do the legwork so you can go ahead without worrying.
Is there an installation procedure?
Fences may look easy to install, but like everything in a DIY world, there will be a right way and a wrong way. Follow the process. When in doubt, they say, check the instructions. J Measure exactly where the posts are supposed to go and mark accordingly. The post holes are a certain size so that the post base sits squarely.
Setting the Posts
The next step is to mix the cement to put into the post holes, set the posts in the hole, brace the posts and leave for 24 hours until the cement has dried and the posts are firmly in place. Once you have the posts in place, it’s a matter of attaching the railings and then the posts. The final step is to secure the gate and attach the hardware that goes with it. Hinges, latch and clasp. You will find out whether you did a good job with posts when you come to the point of attaching the picket panels!
Call in the Experts
A little more expensive? Yes, unless you are a really clever DIY’er. A mistake in your work will cost more than having an expert fencing contractor do the job.
